
Basically I realised AFTER I fixed it that I should have made a post about it and taken more pictures, so this will be a mostly text article, but hopefully it can help someone somewhere with a similar problem.
This probably works for most digital pianos and keyboards, especially those of similar vintage, but my one was a Technics SX-PR40. Essentially they’re giant heavy computer keyboards (and the cheaper ones, at that), and so this fix is actually the same that you’d deploy to one of those…clean the printed circuit board (PCB) and the strikers on the rubber domes.
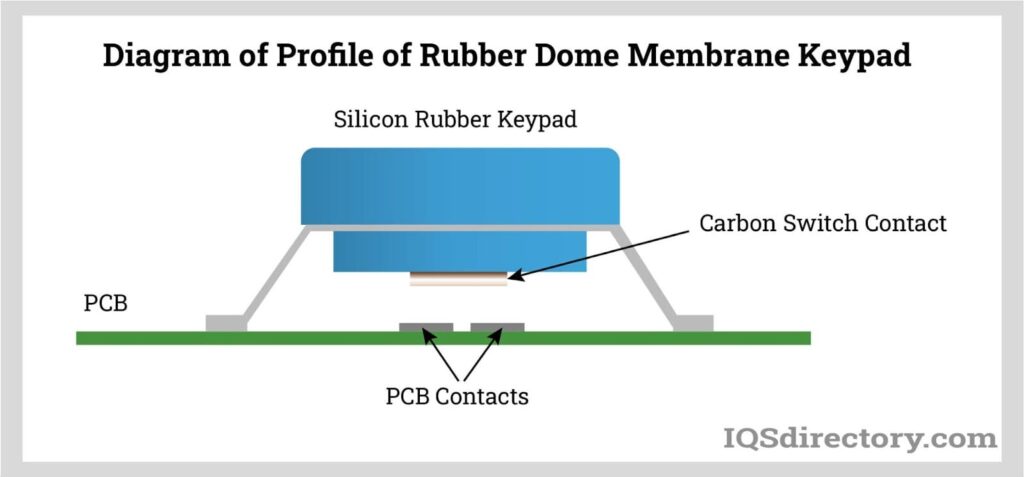
Under the keys is a standard PCB with etched in bridge points, these are then covered with little rubber domes that have a conductive striker underneath and when you push on the rubber the striker comes down and shorts the bridge points. This is exactly how standard modern computer keyboards work (the older and more expensive ones use mechanical keys).


Over time, a few things can happen but the most common scenarios when keys stop working is either there’s a build up of dust or other junk underneath the striker (perhaps you spilled a drink on it) OR a conductive material (such as that aforementioned drink) has found its way onto the PCB channels and shorted them. There are other possibilities, but I would suggest this would be the majority of scenarios, especially if only a few keys are having problems.
This fix is a full clean of everything, so it doesn’t matter which is the problem.
Basic Fix Summary
As a short summary, pull the PCB out, give it a full clean with isopropyl alcohol and do the same with the underneath of the rubber domes.
More Specific Steps
I found a copy of the service manual for this online, but had trouble with the very first step, so I’ll detail that a bit more (and again, it can probably be replicated to your machine if it’s same brand/vintage). It’s attached below and I’ll point out places I had problems.
On the fourth page you find disassembly procedures, and they’re very difficult to work out what they’re talking about in Fig. 1. Anyway, I proceeded to remove basically all the screws on the back and bottom systematically before noticing that there were hinges on the bottom at the back, which clued me into the top hinging up.
The instructions looked like I should be removing screws from the back and it will just pull, so having removed all the screws from the back except for the ones obviously attached to the hinges, I tried to lift it. Which didn’t work.
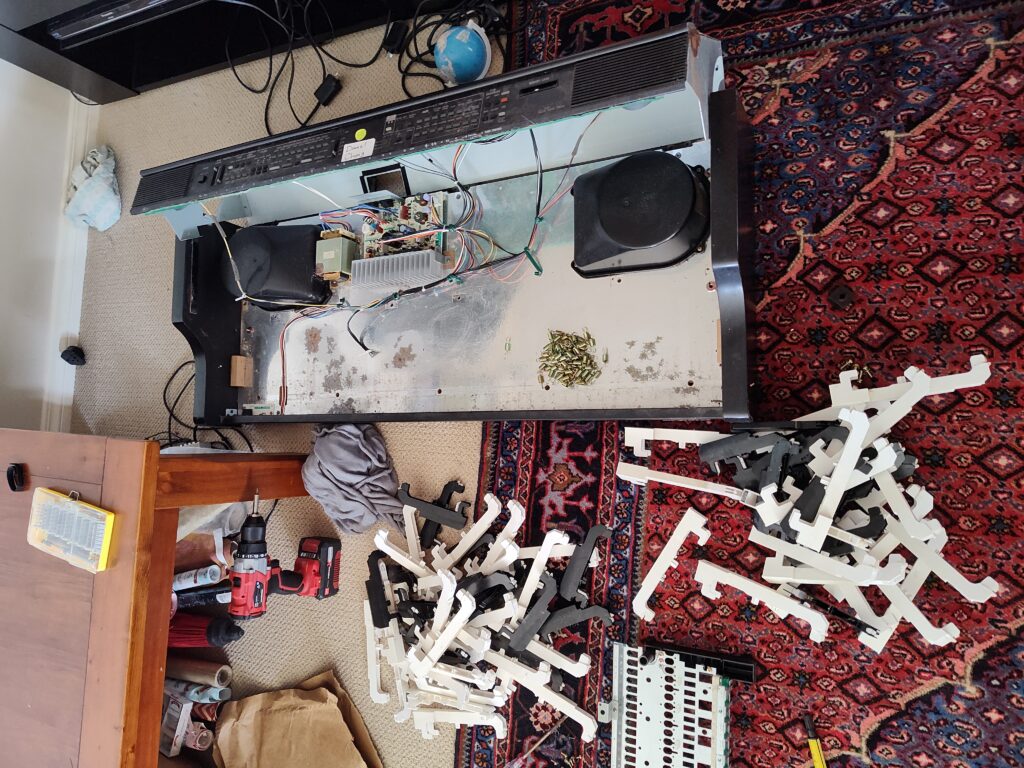
But what the image poorly conveys, is that there are two screws on the BOTTOM (quite large, with brass hook sort of square things that dig into the wood) and two screws on the BACK (they’re a little bigger than the others, and near the top) that must be removed only, and the top then hinges up nicely and easily. Once those four screws are out the top lifts quite easily on the hinges, and everything is simply exposed and easy to handle (and really you don’t need much more than a single phillips screwdriver, which is very cool). In the picture below you can see the hinge and components inside, but I’m about 10 steps ahead having removed the keypad and keys.
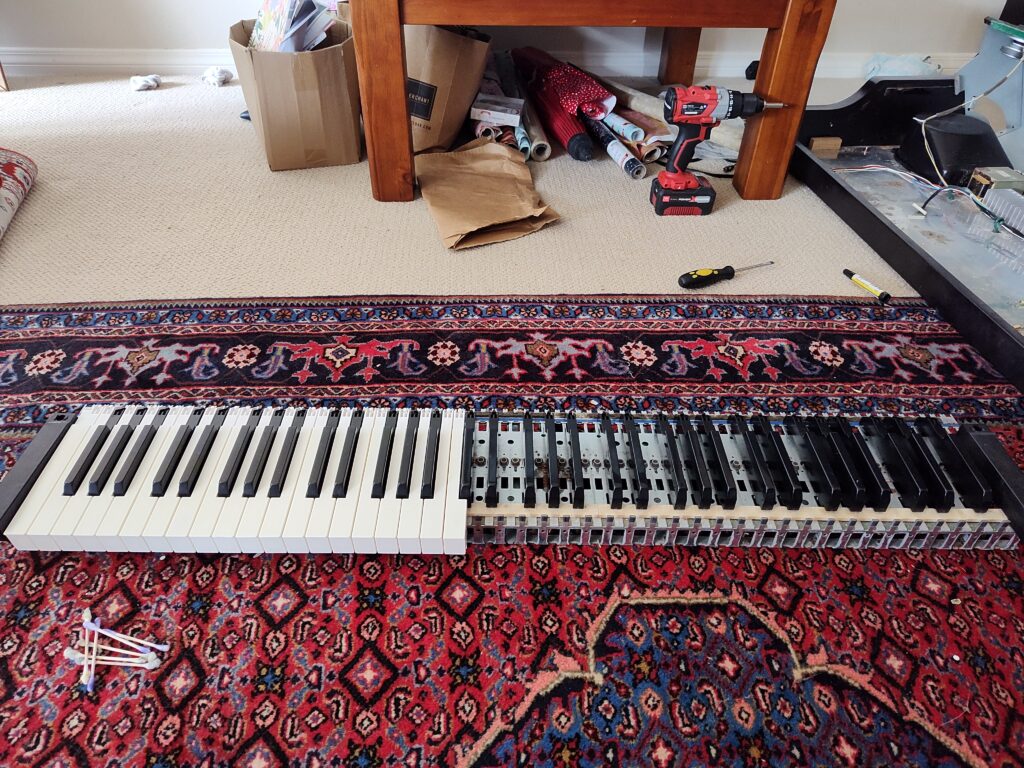
After that the other steps are quite sensible in the manual, 10 easily visible screws on top (5 groups of 2) and 5 screws on the bottom to get the keypad out, there’s also one ribbon connecting to the keypad from the bottom (remove it as you’re lifting it out, there isn’t much give).
Once the screws are out, you can lift the keypad out, which is VERY heavy and feels like it’s still attached, but it’s not, it’s just VERY heavy. Be careful about the ribbon mentioned in the last paragraph, you have about 10cm of upward movement before it starts tugging, so lift a bit then remove, then pull the whole keypad away.
From this point, you can make two choices, simply fix the fault, or fully clean the whole unit since it’s out anyway. You do NOT need to remove the keys to fix the problem (unless you have a sticky key like I did, but you can just remove that particularly one and a couple adjacent).
I removed all of the keys because I thought I had to, but when I reassembled it I realised it wasn’t a necessary step, but it did give me a good opportunity to clean them all individually.
Removing the keys (optional)
We’ll start with removing the keys, if you went down that path, else skip to the next header.
Notes
- The white keys must be removed before the black keys (whether localised, or the whole set)
- A little spring holds up each key, that must be removed before a key can be pulled out (tedious, but not difficult), the round side is frame side, the more square side goes on the key
- The far left and far right key are special, and easy to differentiate
- The black keys are all identical
- The white keys are separated into their notes, and shaped to match, eg all F keys are identical
- So you don’t need to memorise their order when reassembling the white keys, put the left key in, then simply go A/B/C/D/E/F/G/A/B etc
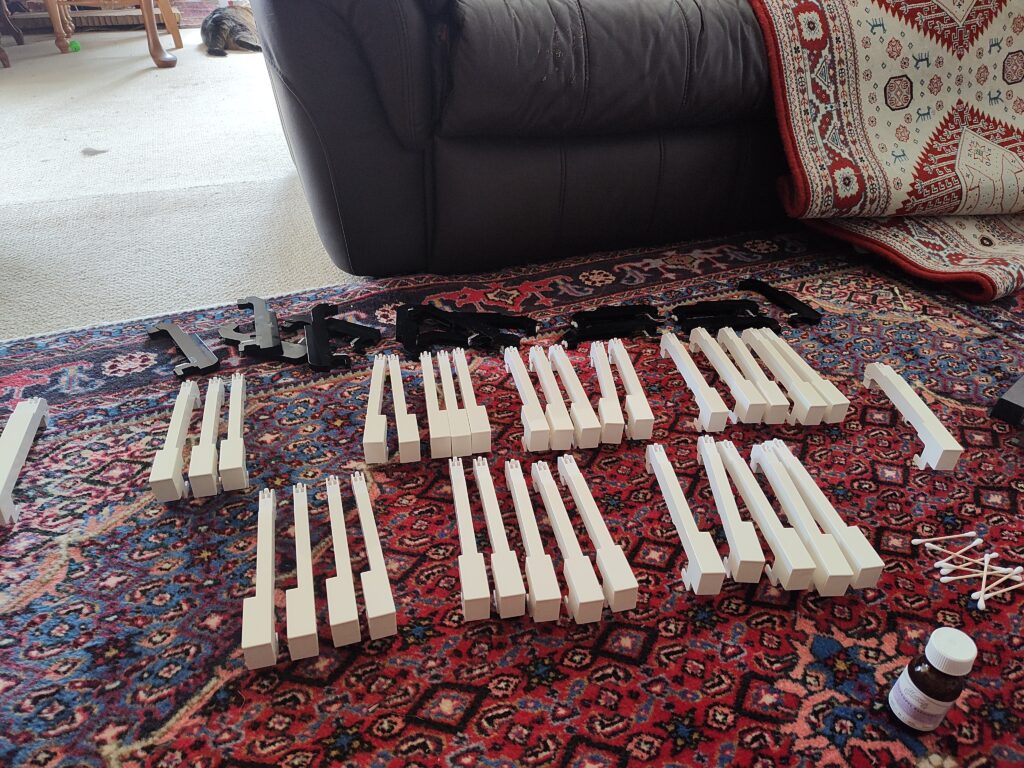
So remove the springs and make an unsightly pile.
Then remove the white keys, they have a little plastic insert at the back, you can just push it in and the key should slot out with a bit of wiggling back and forward (you quickly learn how the mechanism works).
Finally remove the black keys.
Clean them all (I had one sodden microfibre cloth in a bowl, and wiped just the tops and sides, then dried with another microfibre cloth, I thought about putting them in the sink but how the weights are attached could make the interior difficult to dry, and maybe even damage the adhesive)
Then organise them into their notes, all black in one pile, A to G (roughly 6 each) in another pile, and the far left and right keys separated. We’ll reinsert them in a later optional step.
Cleaning the PCB
This is the important part and the actual fix. You’ll see from the top the rubber domes as described earlier (grey circles in the middle under the keys in the picture below).
Flip the keypad over (whether you’ve removed the keys or not).
On mine, there were roughly six braces, each held in by two screws, one on the PCB and one on the frame, in the picture below, they’re visble on the right side, sitting next to the frame.
Once the screws are removed, they easily slot in and out. Remove all of these.
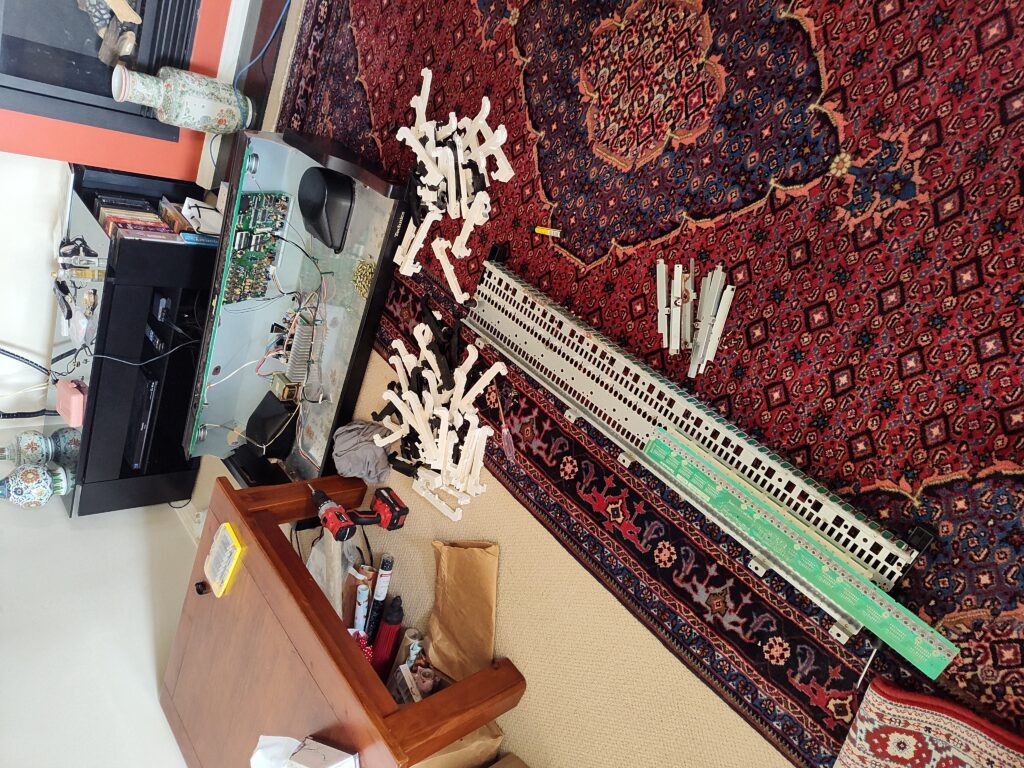
What you’ll notice is that (at least in this model above) there is two PCBs, held together by a ribbon that’s soldered in. Whether you remove the whole thing, or just do one PCB at a time is up to you, but I opted for the latter option as it made it less likely for me to lose any bits or risk breaking the PCB or ribbon. Unscrew one side, and fold it over to rest on the other. Each side should have a few identical screws holding it in, remove them all for one side.
Finally, each PCB is retained by small plastic clips, just slide the side down away from those and you can now fold it over onto the other PCB as you can see in the picture above.
The rubber domes and channels are now very clear. Each rubber dome was in a group of around 7 joined together and held in by some simple rubber pieces. A rubber done set can be easily pulled on and it will just come away.
I don’t think it’s likely that any of these will be broken, but if they are on yours, then you probably can’t fix the piano using this method since you have physical damage, and you would have to replace them.
Assuming they’re all undamaged, the simple fix is to get some cotton buds, some isopropyl alcohol and give the whole thing a good clean across the channels on the PCB. On each rubber dome set, pull it up, then clean the PCB side AND clean the striker underneath the dome, you’ll probably find the ones that aren’t working are just covered in dust and grime, then push it back in again.
Once clean, haul the keypad over to the keyboard, arrange it so that the ribbon from the main body can reach and plug it in. Turn the keyboard on and you can just press on the rubber keys to test they work.
From here is where I took a few more photos and videos.
If all good, then you can unplug it, reattach that side of the PCB (see next paragraph first) and repeat on the other side. If any still aren’t working, reclean that set of domes and under them on the PCB. If that doesn’t work, then you’ll need to physically inspect the PCB (and may need to conclude that the PCB must be replaced which will probably be impossible to get parts for), I feel that it actually being faulty, though is unlikely.
Once thing to note, especially if you didn’t remove the keys, is that when reattaching the PCB, since you have to slot it upwards towards the plastic and can’t just drop it in, the rubber domes will likely catch on the frame, so before screwing it down, just lift it slightly and look in and use something long and thing (like a flat headscrewdriver) to just push any rubber domes back into their slots. This is a very likely occurrence and you’ll only find it when you go to test it in the frame and it’s either held down or doesn’t work.
Lets assume you’ve done the other side and tested it as above, and everything is good.
Reverse the process, clean the braces if you need to, honestly, a bit of surface rust isn’t going to be a problem, I brushed them down with a hard bristle brush, and probably clean the frame, even if there’s no rust you will get out any spiderwebs or whatever, then reattach the braces.
Now flip it over again and plug it back in and test it with the keys, if the keys aren’t in it, then read the next step, else skip over the next step. Assuming all the keys worked the first time, then they should all work here, if you are having any problems, then either the rubber domes didn’t make it through properly, or you possibly it didn’t get a good enough clean on both the PCB and under the rubber domes. Remove the problematic keys and you should be able to quickly confirm the rubber dome thing. Else repeat the earlier steps for cleaning (especially since you tested it with the rubber domes only to success earlier).
Reattach the keys (optional)
If you removed the keys last time and gave them a clean, then it should be obvious if any rubber domes didn’t poke through, just fix them up now.
Reattaching the keys is actually pretty straightforward and you don’t need to remember how they came out.
First put all the black keys in, each key on the frame (both black and white) has a little stump with the teflon tip (one of these was the actual cause of my sticky key, but I’m not going into that, worst case scenario is to pull off the teflon tip), so you can tell which spots to put black keys because their little stumps are set back.
In the image below, the white stumps (and their tips) are shown by the red arrow, and the black stumps sit about where the yellow arrow points

So insert all the black keys, which are identical.
If you are having trouble putting them in on both the black and white keys. Follow this order, front first (on the black key it hooks in, then the back falls in, on the white key it hooks in the bottom and pulls back), and the white greasy insert at the back should be pushed in (you can do this with your finger or a screwdriver, same as when you removed it).
Now insert the white keys, start with the far left unique key, then follow the letter order (E-F-G-A-B-C-D-E-F-G-A-B-C-D etc) and they’ll all just nicely fit in.
Finally, reattach the springs, hook the round side onto the frame above the key, then pull the more squarish side onto the little round bulge at the back. Use a thin tool inserted into the more squarish side, or needlenose pliars. If you lift the key with your other hand, you won’t have to stretch the spring very far.
Repeat for all, it is boring. Once the keys are in, do one last test with the keys as seen in the video in the last step.
Put it all back together
Reverse the process:
- Heave the keypad back into the main body, attaching the ribbon which is annoying to do.
- Reattach the ten screws (5 groups of two) at the top of the keypad
- Reattach the 5 screws at the bottom under the keypad
- Close the lid
- Put the two bottom screws back in
- Put the two rear screws back in
FINISHED
Test one last time to ensure everything works.
This may not fix everyone’s problems, but I would suggest this would fix the majority of issues where a couple keys aren’t working on a keyboard or digital piano, something which renders them basically useless. The most important thing to me was writing it down as I had difficulty finding resources online that described the problems and the fixes, particularly for my model.